Deploy to Amplify
Overview
Bước cuối cùng là deploy frontend Next.js 15 lên AWS Amplify với tích hợp GitLab để tự động deploy khi có code mới.
Step 1: Prepare Frontend Code
1. Check Frontend Structure
cd frontend

# Check package.json
cat package.json

# Should show Next.js 15
2. Test Frontend Locally
# Install dependencies
npm install

# Run development server
npm run dev

# Open http://localhost:3000
3. Build Frontend
# Build for production
npm run build

# Test production build
npm start
Step 2: Create Amplify App
1. Go to AWS Amplify Console
- Open AWS Console
- Search for “Amplify”
- Click “Get started” or “New app”
2. Connect to GitLab
- Choose “Host web app”
- Select “GitLab”
- Click “Connect branch”
- Authorize AWS Amplify to access GitLab
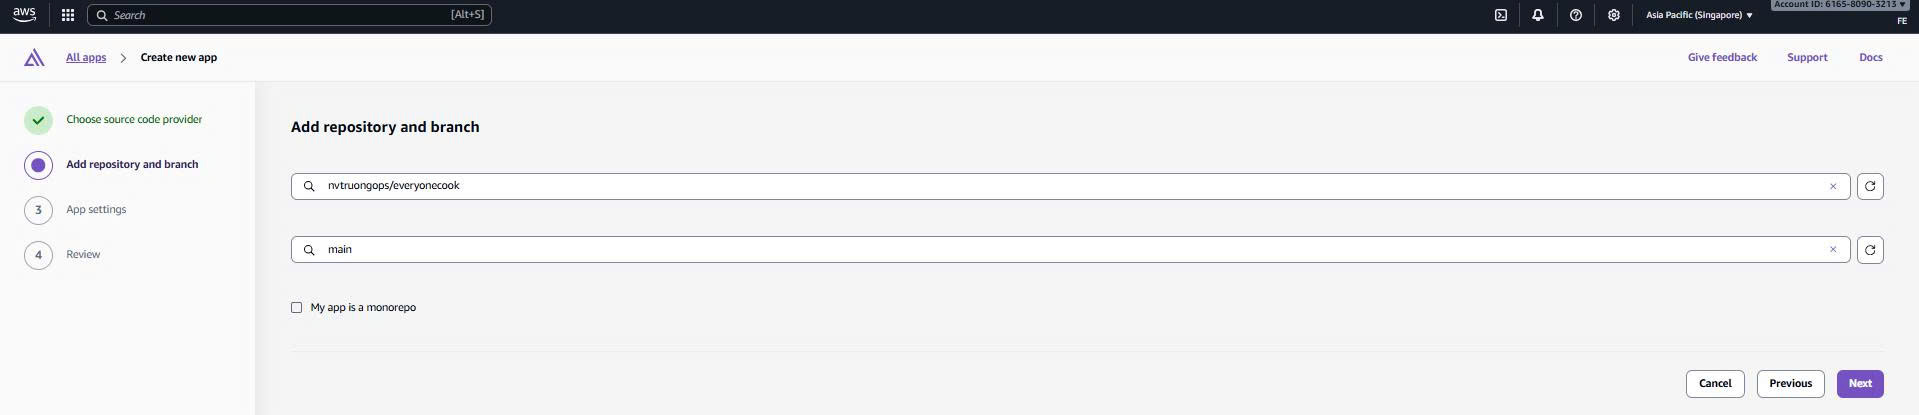 Screenshot: Amplify showing GitLab connection
3. Select Repository
- Choose repository:
everyonecook - Choose branch:
main(ordevfor development) - Click “Next”
Step 3: Configure Build Settings
1. App Name
App name: everyonecook-frontend
2. Build Settings
Amplify auto-detects Next.js, but verify:
version: 1
applications:
  - frontend:
      phases:
        preBuild:
          commands:
            - export HUSKY=0
            - npm install --legacy-peer-deps --ignore-scripts
        build:
          commands:
            - echo "=== Creating .env.production from Amplify env vars ==="
            - rm -f .env.production
            - env | grep -e NEXT_PUBLIC_ > .env.production || true
            - echo "=== .env.production content ==="
            - cat .env.production
            - echo "=== Building frontend ==="
            - npm run build
      artifacts:
        baseDirectory: .next
        files:
          - '**/*'
      cache:
        paths:
          - node_modules/**/*
          - .next/cache/**/*
    appRoot: frontend
3. Advanced Settings
Add environment variables:
NEXT_PUBLIC_API_URL=https://api.everyonecook.cloud
NEXT_PUBLIC_CDN_URL=https://cdn.everyonecook.cloud
NEXT_PUBLIC_USER_POOL_ID=us-east-1_ABC123
NEXT_PUBLIC_USER_POOL_CLIENT_ID=abc123def456
NEXT_PUBLIC_REGION=us-east-1
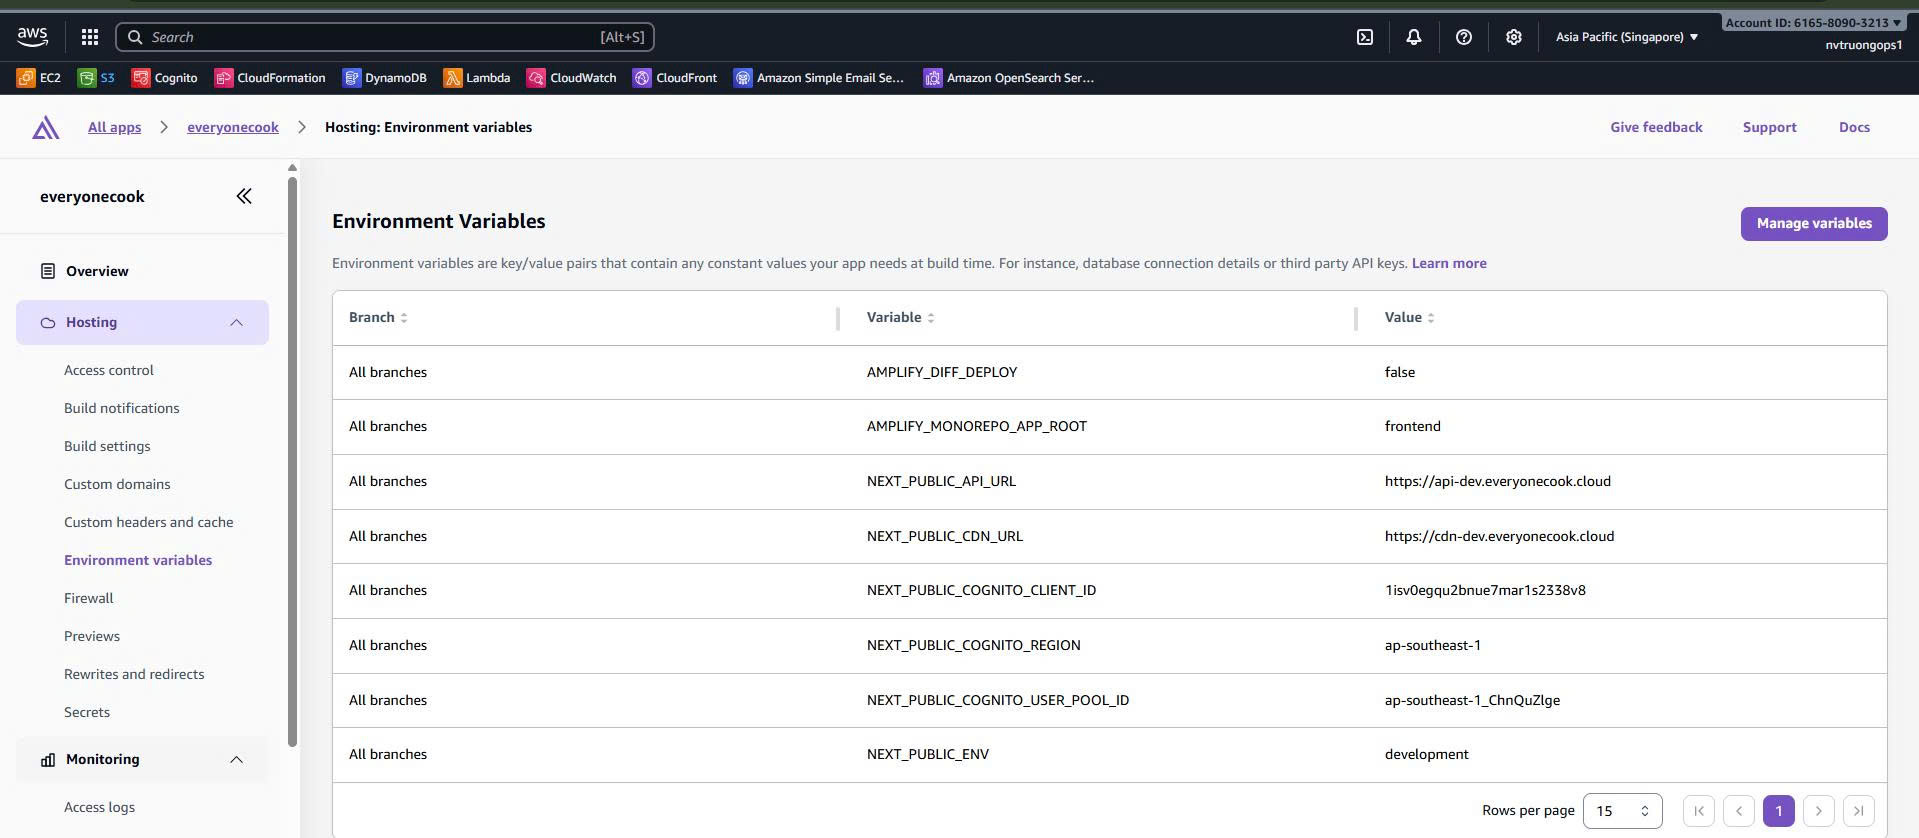 Screenshot: Amplify environment variables configuration
Step 4: Deploy Frontend
1. Start Deployment
Click “Save and deploy”
Amplify will:
- Clone repository from GitLab
- Install dependencies
- Build Next.js app
- Deploy to CDN
- Provision domain
2. Monitor Deployment
Watch deployment progress:
- Provision
- Build
- Deploy
- Verify
3. Wait for Completion
Deployment takes 5-10 minutes.
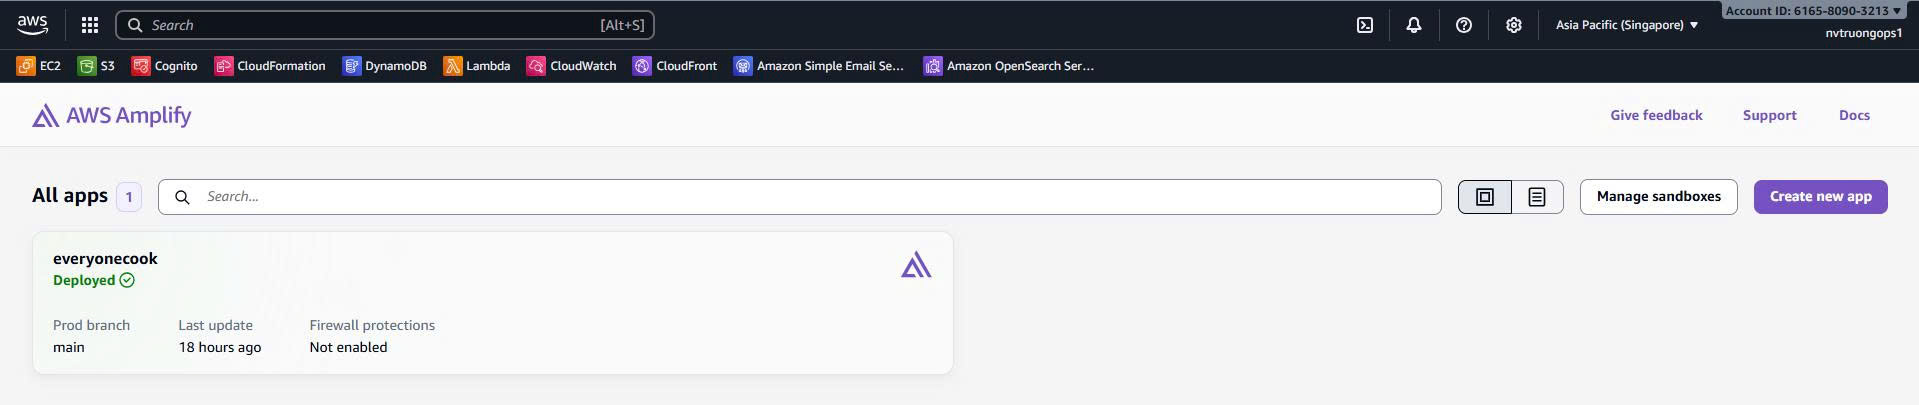 Screenshot: Amplify showing successful deployment
Step 5: Configure Custom Domain
1. Add Custom Domain
- Go to Amplify app → Domain management
- Click “Add domain”
- Enter domain:
everyonecook.cloud - Amplify will auto-configure:
- Root domain:
everyonecook.cloud - WWW subdomain:
www.everyonecook.cloud
- Root domain:
2. DNS Configuration
Amplify automatically creates DNS records in Route 53:
everyonecook.cloud → A record → Amplify
www.everyonecook.cloud → CNAME → Amplify
3. SSL Certificate
Amplify automatically provisions SSL certificate via ACM.
4. Wait for DNS Propagation
Takes 5-15 minutes.
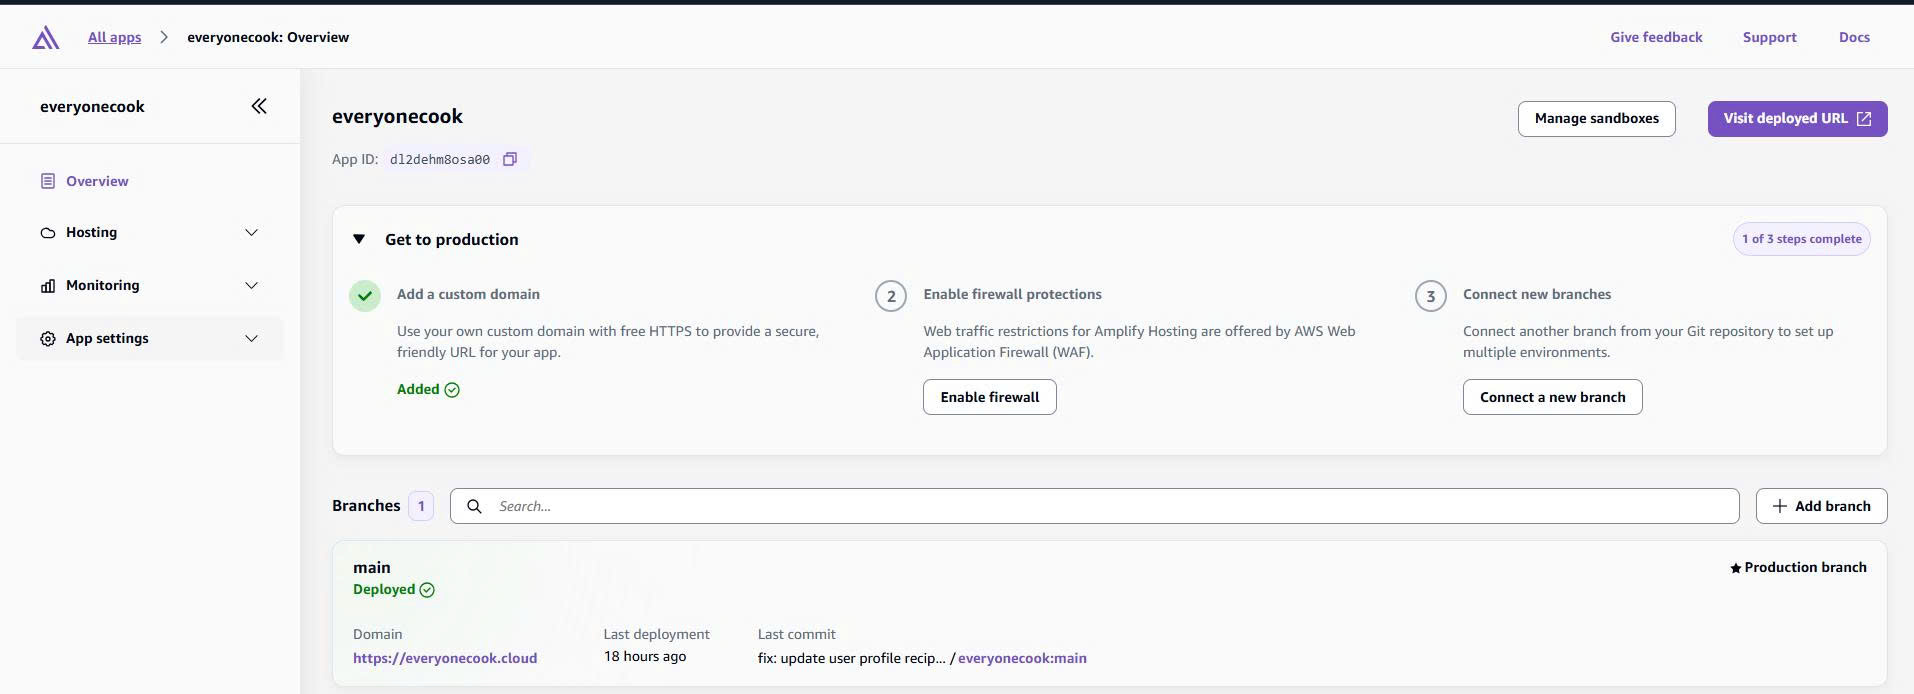 Screenshot: Amplify showing custom domain configured
Step 6: Verify Deployment
1. Access Frontend
# Via Amplify domain
curl -I https://main.d1234567890.amplifyapp.com

# Via custom domain
curl -I https://everyonecook.cloud

# Should return 200 OK
2. Test Frontend Features
- Open https://everyonecook.cloud in browser
- Test user registration
- Test login
- Test creating posts
- Test creating recipes
- Test AI features
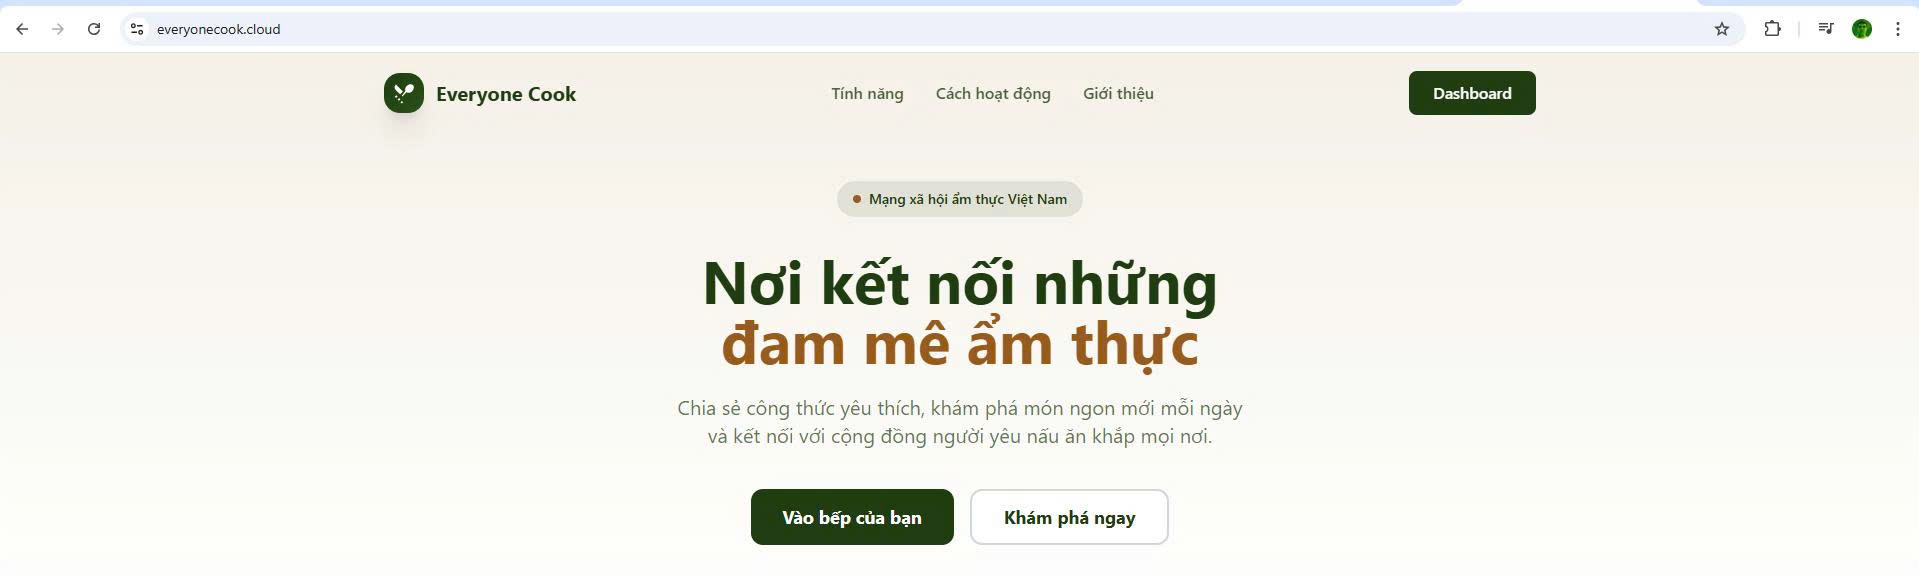 Screenshot: Browser showing EveryoneCook frontend live
Best Practices
- Use Environment Variables: Never hardcode API URLs
- Enable Auto-Deploy: Automatic deployments on push
- Multiple Environments: Separate dev and prod
- Monitor Performance: Use Amplify metrics
- Set Up Notifications: Get alerted on build failures
- Use Custom Domain: Professional appearance
- Enable HTTPS: Always use SSL
- Configure Headers: Security headers for protection
Next Steps
Congratulations! Your application is now fully deployed:
- ✅ Infrastructure on AWS
- ✅ Backend APIs running
- ✅ Frontend on Amplify
- ✅ Code on GitLab
- ✅ CI/CD configured
Proceed to Cleanup when you’re done testing, or start using your application!